Achieve Frothy Milk For Your Coffee With Nothing But Your Microwave
Table of Contents
- Why Frothy Milk Makes Coffee Better
- How Microwave Frothing Works
- What You Need
- Step by Step Microwave Frothing Method
- Best Types of Milk for Frothing
- Why Protein Matters in Frothing
- Tips for Better Microwave Milk Foam
- Drinks You Can Make With Microwave Froth
- Why This Method Became So Popular
- Common Mistakes to Avoid
- Is Microwave Froth the Same as Steam Wand Foam
- Final Thoughts


Achieve Frothy Milk For Your Coffee With Nothing But Your Microwave
- azeem memon
- 07-10-2024
- 05-10-2026
- 1464 views
- Coffee Shop
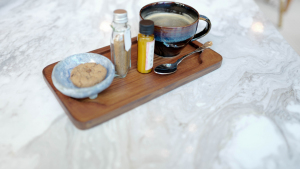
You do not need an expensive espresso machine or professional milk frother to create creamy, café style foam at home. One of the easiest and most affordable ways to make frothy milk for coffee uses something most kitchens already have: a microwave.
This simple method can transform ordinary coffee into lattes, cappuccinos, and creamy café style drinks in just a few minutes. Whether you enjoy hot coffee in the morning or want to upgrade your homemade beverages without buying extra equipment, microwave milk frothing is surprisingly effective.
Why Frothy Milk Makes Coffee Better
Frothed milk changes both the texture and overall experience of coffee.
It adds:
Creaminess
Light foam
Smoother mouthfeel
Café style presentation
Balanced flavor
Foamed milk also helps soften the bitterness of strong coffee or espresso while making drinks feel richer and more luxurious.
How Microwave Frothing Works
The process is simple.
Milk is shaken inside a sealed container to introduce air bubbles, then heated in the microwave to stabilize the foam.
The combination of trapped air and heat creates frothy milk similar to what you would get from a basic milk frother.
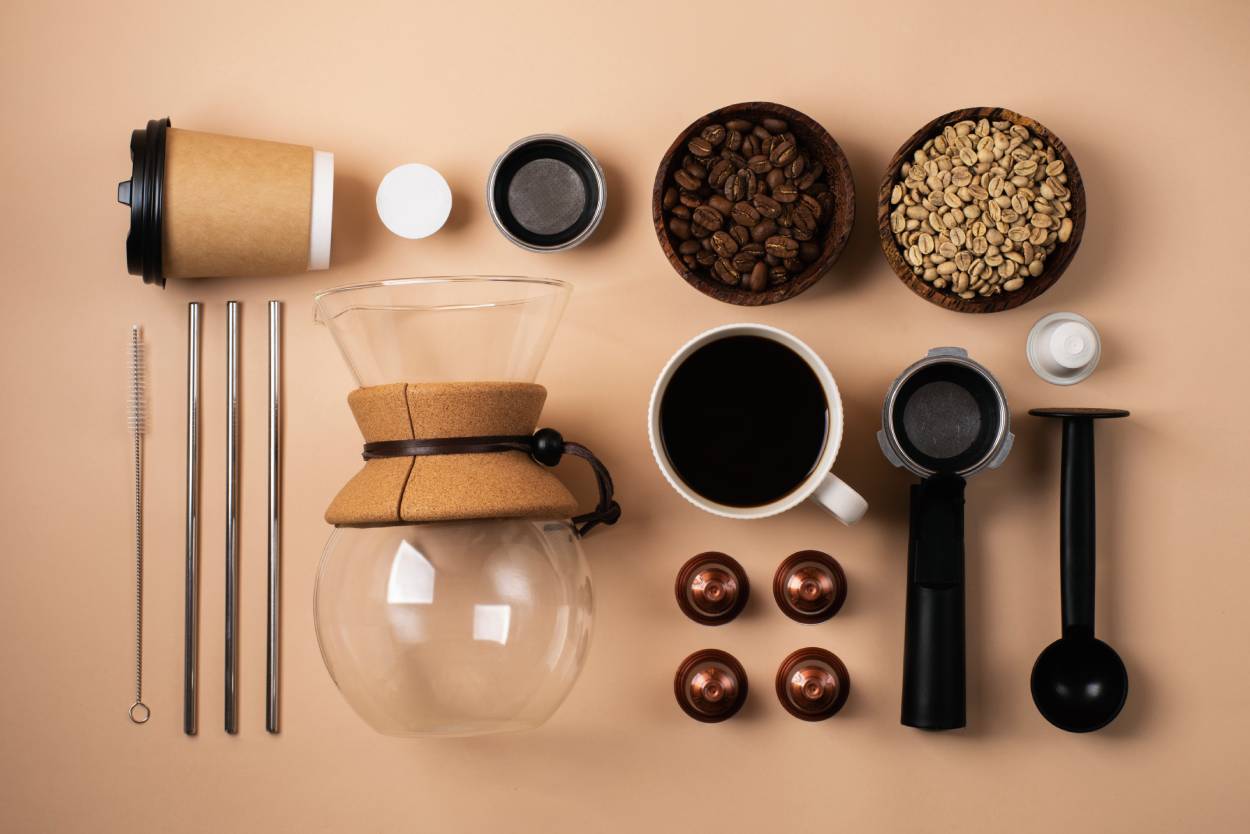
What You Need
Ingredients
Milk of your choice
Coffee or espresso
Equipment
Microwave
Microwave safe jar with lid
Spoon optional
That is all.
Step by Step Microwave Frothing Method
Step 1: Fill the Jar
Pour milk into a microwave safe jar until it is about one third full.
Do not overfill because the milk expands while foaming.
Step 2: Shake Vigorously
Seal the jar tightly and shake it hard for about 30 to 60 seconds.
The milk should become visibly foamy and nearly double in volume.
Step 3: Remove the Lid
Always remove the lid before microwaving.
This is extremely important for safety.
Step 4: Microwave the Milk
Heat the uncovered jar in the microwave for about 30 to 45 seconds.
The heat stabilizes the foam and creates a creamier texture.
Step 5: Pour Into Your Coffee
Slowly pour the warm milk into your coffee while holding back some foam with a spoon if desired.
Then add the foam on top.
Best Types of Milk for Frothing
Some milks froth better than others because of differences in protein and fat content.
Whole Milk
Creates creamy and stable foam with rich texture.
Oat Milk
One of the best plant based options for smooth foam.
Skim Milk
Produces larger and lighter foam bubbles.
Almond Milk
Can froth reasonably well depending on the brand.
Barista Style Plant Milks
Specially designed for better foam performance.
Why Protein Matters in Frothing
Milk proteins help trap air bubbles during shaking and heating.
Higher protein content generally creates more stable foam.
That is why some alternative milks foam better than others.
Tips for Better Microwave Milk Foam
Use Cold Milk First
Cold milk creates foam more effectively before heating.
Shake Hard Enough
Proper aeration is essential for creating thick foam.
Use the Right Container
Glass jars usually work best because they handle shaking and microwaving safely.
Do Not Overheat
Overheating milk can damage texture and flavor.
Drinks You Can Make With Microwave Froth
Lattes
Creamy milk with light foam over espresso.
Cappuccinos
More foam and stronger coffee flavor.
Mochas
Frothed milk combined with chocolate and coffee.
Matcha Lattes
Foamed milk paired with matcha powder.
Hot Chocolate
Milk foam creates café style hot chocolate texture.
Why This Method Became So Popular
Home coffee culture has exploded in recent years, and people increasingly want café style drinks without spending money on expensive equipment.
Microwave frothing became popular because it is:
Affordable
Quick
Easy
Beginner friendly
Minimal cleanup
It allows almost anyone to improve homemade coffee instantly.
Common Mistakes to Avoid
Overfilling the Jar
Milk needs room to expand during shaking.
Microwaving With the Lid On
This can be dangerous because pressure builds rapidly.
Using Warm Milk Initially
Cold milk froths better before heating.
Under Shaking
Insufficient shaking creates weak foam.
Is Microwave Froth the Same as Steam Wand Foam
Not exactly.
Professional espresso steam wands create finer microfoam with more precision and texture control.
However, microwave frothing still produces impressive results for simple home coffee drinks without specialized equipment.
Final Thoughts
You do not need fancy coffee gear to enjoy creamy and frothy café style drinks at home. With nothing more than milk, a jar, and a microwave, you can create surprisingly satisfying foam that transforms ordinary coffee into something far more enjoyable.
This simple method proves that better coffee experiences often come from creativity and technique rather than expensive equipment. Sometimes the easiest kitchen hacks become the most useful daily upgrades.


Deal of Day
Shop
Visit Our Store!
Discover products inspired by our blog — click here to explore the store.
Visit NowEvents

Events-Coffee Culture Live
Don’t miss out on exclusive coffee events and community gatherings.
Coming Soon
Jobs


Subscribe now
Subscribe to our newsletter today for a chance to win a FREE one year coffee subscription after your first order!