How to Make Homemade Coffee Ice Cream Without a Machine
Table of Contents
- Why Make Coffee Ice Cream at Home?
- Ingredients You’ll Need
- Step-by-Step Instructions for Homemade Coffee Ice Cream
- Step 1: Brew Your Coffee
- Step 2: Whip the Cream
- Step 3: Combine the Sweetened Condensed Milk and Coffee
- Step 4: Fold in the Coffee Mixture
- Step 5: Add Optional Mix-Ins
- Step 6: Transfer to a Freezer-Safe Container
- Step 7: Cover and Freeze
- Tips for Perfect Homemade Coffee Ice Cream
- The Perfect Pairings for Coffee Ice Cream
- Healthier Alternatives
- Conclusion
How to Make Homemade Coffee Ice Cream Without a Machine
- azeem memon
- 21-09-2024
- 21-09-2024
- 2129 views
- Coffee Recipes

Who doesn’t love a creamy, smooth, and delicious scoop of coffee ice cream? If you’re a coffee lover and enjoy indulging in this cool treat, the good news is that you can make it at home without an ice cream machine! No need for fancy equipment or endless stirring. This simple recipe will guide you through the process of making homemade coffee ice cream using only a few ingredients and basic kitchen tools.
Why Make Coffee Ice Cream at Home?
Homemade ice cream allows you to control the quality of ingredients, add personalized flavors, and enjoy a freshly made batch. Unlike store-bought varieties, which may contain artificial flavors, homemade coffee ice cream bursts with the richness of real brewed coffee or espresso.
Let’s dive into this fun and easy recipe!
Ingredients You’ll Need
Before you start, make sure you have all the necessary ingredients. Here’s what you’ll need to make this decadent coffee ice cream at home:
- 2 cups of heavy whipping cream: Provides a creamy texture.
- 1 cup of sweetened condensed milk: Acts as a sweetener and stabilizer, giving the ice cream a soft texture.
- 2 tablespoons of instant coffee or 1 shot of espresso: This is where the coffee flavor shines. Adjust the strength to your preference.
- 1 teaspoon of vanilla extract: Enhances the overall flavor of the ice cream.
- Optional: Chocolate chips, caramel swirls, or chopped nuts for added texture and flavor.
Step-by-Step Instructions for Homemade Coffee Ice Cream
Step 1: Brew Your Coffee
To give your ice cream that rich, bold coffee flavor, start by preparing your coffee. You can either brew a strong shot of espresso or dissolve 2 tablespoons of instant coffee in 2 tablespoons of hot water. Set it aside to cool to room temperature.
Step 2: Whip the Cream
In a large mixing bowl, pour the heavy whipping cream. Using an electric hand mixer or a stand mixer, beat the cream on medium-high speed until stiff peaks form. This should take about 4-5 minutes. The whipped cream should be fluffy, holding its shape when the beaters are lifted.
Step 3: Combine the Sweetened Condensed Milk and Coffee
In a separate bowl, pour the sweetened condensed milk and stir in your cooled coffee. Add the vanilla extract and mix until everything is well combined. The coffee mixture will look creamy and brown, ready to infuse the whipped cream with a delicious coffee flavor.
Step 4: Fold in the Coffee Mixture
Gently fold the coffee mixture into the whipped cream using a spatula. Be sure to fold, not stir, to keep the mixture light and airy. This helps maintain the ice cream’s creamy texture. Make sure everything is evenly mixed, and you’ll start to notice that rich coffee color blending throughout the cream.
Step 5: Add Optional Mix-Ins
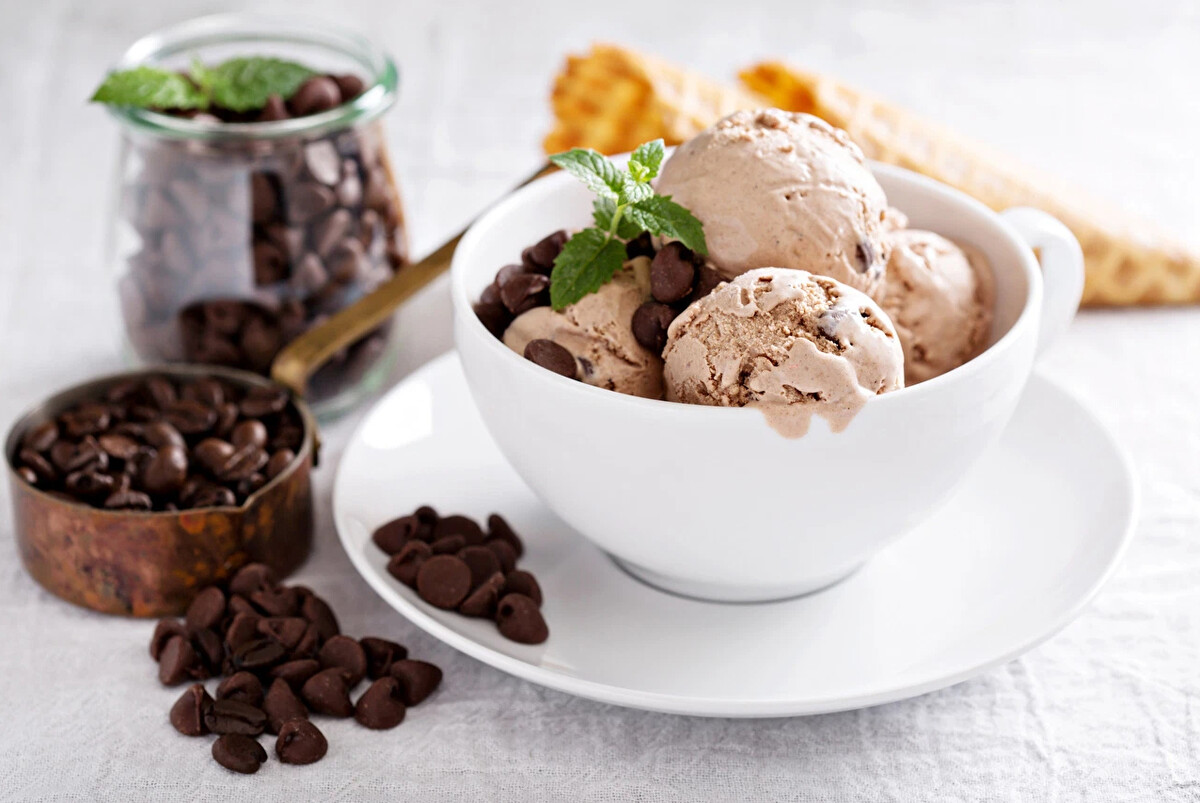
If you want to add some extra flavor or texture to your coffee ice cream, now is the time! Gently fold in your favorite mix-ins like chocolate chips, caramel swirls, or chopped nuts. The addition of these textures will make your ice cream even more delightful.
Step 6: Transfer to a Freezer-Safe Container
Once your ice cream mixture is well combined, transfer it to a freezer-safe container. A loaf pan works perfectly for this. Smooth out the top with a spatula to ensure even freezing.
Step 7: Cover and Freeze
Cover the container tightly with plastic wrap or a lid to prevent any ice crystals from forming. Place it in the freezer for at least 6 hours, or until the ice cream is firm and scoopable.
Tips for Perfect Homemade Coffee Ice Cream
- Chill Your Ingredients: For best results, make sure your heavy whipping cream and sweetened condensed milk are cold before you start the recipe. Cold ingredients whip better and create a creamier texture.
- Use Quality Coffee: The flavor of your ice cream depends heavily on the quality of coffee you use. Opt for a strong espresso or a good-quality instant coffee to ensure a rich coffee flavor.
- Customize the Sweetness: If you prefer a less sweet ice cream, you can reduce the amount of sweetened condensed milk slightly. Just be mindful that it also acts as a stabilizer, so don’t cut back too much.
- Add Swirls or Layers: For a visually appealing and flavorful twist, swirl in some caramel or chocolate sauce before freezing. You can also layer the ice cream with fudge or nuts for added texture.
- Freeze Long Enough: Patience is key. Make sure you allow the ice cream to freeze for at least 6 hours, or overnight, for the best texture. This will give the flavors time to meld and the ice cream to firm up.
The Perfect Pairings for Coffee Ice Cream
Now that you’ve made your own batch of coffee ice cream, what can you pair it with? Here are some delicious ways to enjoy your creation:
- Affogato: Pour a shot of hot espresso over a scoop of your coffee ice cream for an Italian-style treat.
- Ice Cream Sandwich: Use two soft chocolate chip cookies to sandwich a scoop of coffee ice cream for a delightful dessert.
- Milkshake: Blend a few scoops of your coffee ice cream with milk for a thick, creamy milkshake with a kick.
- Coffee Float: Add a scoop of your coffee ice cream to a glass of iced coffee or cold brew for a refreshing summer drink.
Healthier Alternatives
If you want to make a lighter version of this recipe, there are a few simple swaps you can make:
- Use half-and-half instead of heavy cream: This will reduce the fat content while still keeping the ice cream creamy.
- Opt for unsweetened almond milk: You can substitute the sweetened condensed milk with almond milk and use a natural sweetener like honey or maple syrup.
- Decaf Coffee: For those who love coffee flavor but want to avoid caffeine, using decaf coffee or espresso is an excellent alternative.
Conclusion
Making coffee ice cream at home without a machine is not only easy but also fun! This no-churn method yields rich, creamy, and flavorful ice cream that rivals anything store-bought. Plus, you have the freedom to customize your recipe by adjusting sweetness levels, adding mix-ins, or even making it a decaf version.
Next time you’re craving coffee ice cream, skip the store-bought versions and try this homemade recipe instead. It’s guaranteed to impress your family and friends, and you’ll enjoy every scoop knowing it was made with love.


