A Step-by-Step Guide to Latte Art For Beginners
A Step-by-Step Guide to Latte Art For Beginners
- Sophia Williams
- 02-04-2022
- 29-07-2025
- 1536 views
- Coffee Tips, Featured Articles, Information

Latte art is a form of visual art where images are created using steamed milk and different densities. In the past, latte art was only achievable by professionals. But recent technological advances — and some creative uses of otherwise mundane things — have made it much easier for everyone to make their own latte art.
In this article, I’ll be focusing on the tools you need and steps you can follow to perfect the art of latte foam design!
Step1: Gather Your Ingredients
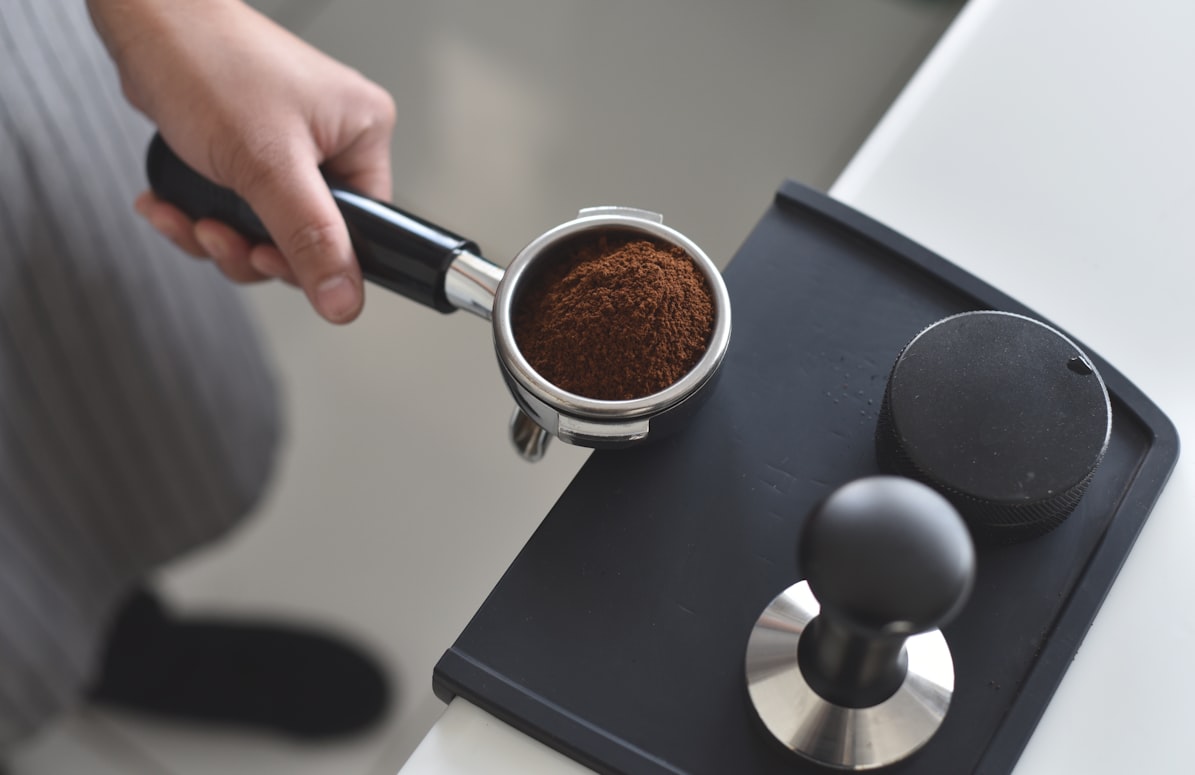
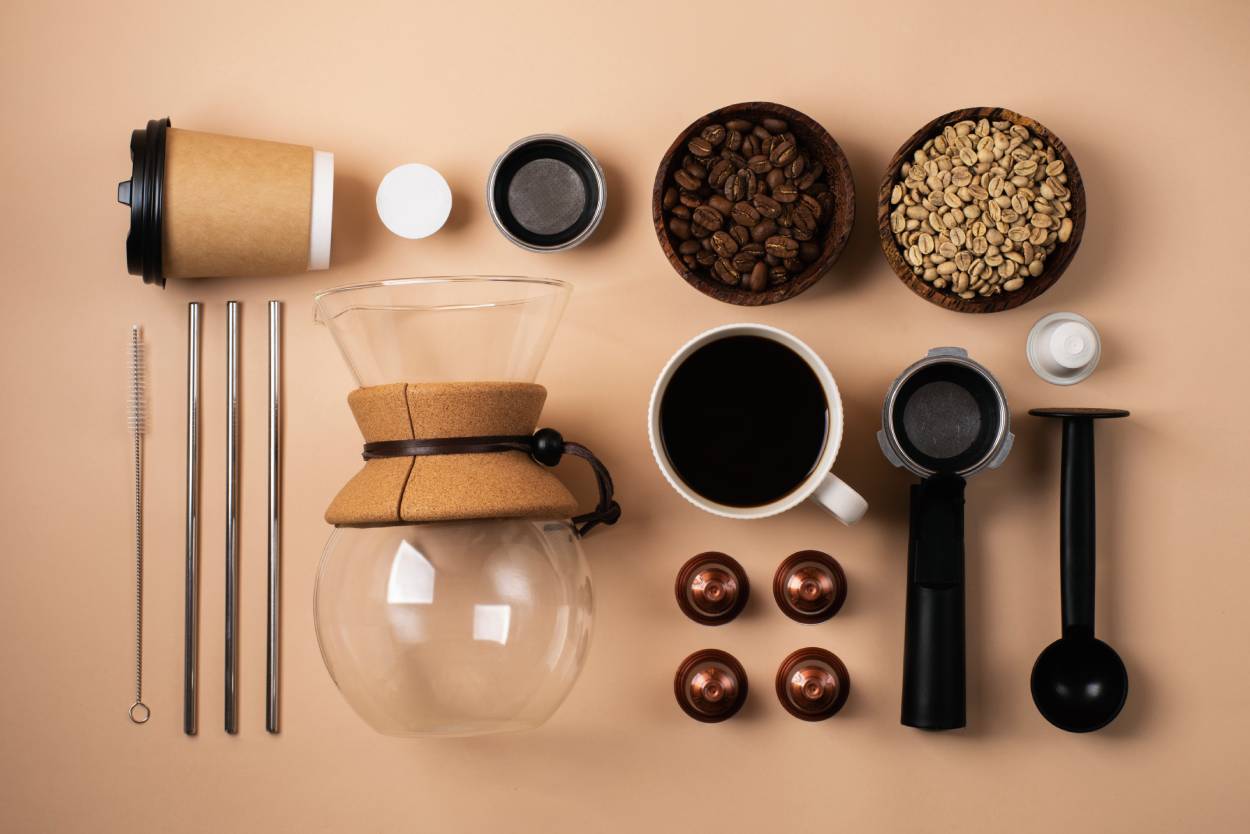
To start off, it’s helpful to know what is needed to make a latte. You’ll need an espresso machine with a portafilter, as well as a tamper. A latte mug and saucer are also required. If you don’t have them already, they can be bought by clicking on the links.
In addition, espresso coffee beans are necessary, as well as milk (for the latte) and a milk jug and frother (to mix the drink). You may want to use a latte spoon too. It’s best to also have some paper towels on hand!
Step 2: Warm Your Cup
Warm your cup. This prevents the espresso from cooling too quickly once it’s poured into the latte. Here are some methods of warming your cup:
- Heat the bottom of your cup using a steaming wand, like you would for steamed milk.
- Dry the base of a cold glass by placing it on top of a warm espresso machine drip tray.
- Pour hot water into your cup and let it sit for 10-20 seconds, then dump out the water and dry off any excess moisture before pulling your shot and pouring it in.
Step 3: Heat and Froth the Milk
Frothing milk is an art form in itself, and it takes practice to master. To prepare and give yourself the best chance of success, it’s important to heat your milk to the right temperature and have consistency in its texture.
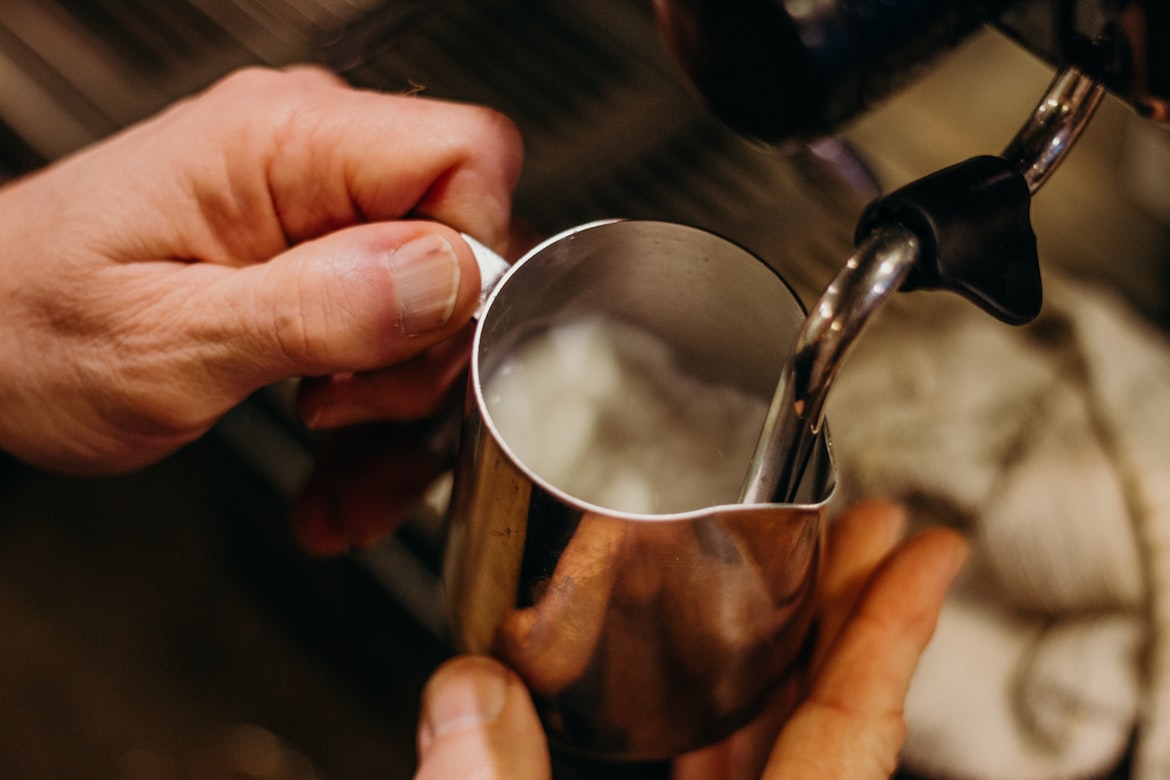
First, heat up your milk using the steaming wand attachment on your espresso machine (or an electric handheld frother). As you’re heating the liquid, it should become silky smooth and steamy. This means that air is being incorporated into the milk as it heats—you want this!
Once the milk reaches between 140 and 150 degrees Fahrenheit (60-65 degrees Celsius), it’s ready for the next step: frothing.
There are two types of frothing: dry and wet. Wet frothing produces microbubbles resulting in a more velvety consistency than dry frothing, creating larger bubbles. Wet froth is easier for beginners to create than dry froth. Fill a steamer one-third full of warm milk, set it on the stove, and turn on the steam setting. Once there are small bubbles at the top of the milk, remove it from the heat.
Test it by dipping a spoon into the liquid—if there’s no skin forming on top when you pull it out, keep going until there is a thin layer holding together over the top of most of its surface area.
Step 4: Pour the Espresso Shot
Pour your espresso shots into the cup slowly so it settles at the bottom (this is why you don’t pour the milk in first). The espresso should be hot, so it doesn’t cool down or get diluted by the milk.
Step 5: Pour the Milk into the Cup
After you’ve pulled a shot, immediately begin pouring the steamed milk into the cup. Pour it slowly and carefully so that it’s not gloppy and not giving your drink any type of movement beyond a still circle in the center of the cup. It should look like a dirty puddle at this point, but that’s ok! You’ll fix that in a moment.
Don’t pour the milk directly into the espresso—pour it around the edge of the espresso so that it swirls inside as you pour. Keep your pitcher tilted for about ¾ cup of milk or until you reach about ¼” from where you’d like to stop pouring. Remember: It’s easier to add more milk after than to start over!
Now straighten out your pitcher and continue to pour directly into the center of your espresso circle in order to move your design from its current placement at what I like to call “12 o’clock,” all-around towards 3 o’clock (1 o’clock would be on top, 9 o’clock would be on the bottom).
As you’re doing this, use one finger on your free hand to slightly pull back some foam so that it creates a path for more liquid milk underneath. This helps guide your design across your latte art piece with less effort on both hands! Using small cups will help you guide the ingredients together without making any mistakes along the way.
Get Creative with Your Designs
Once you have a few basic designs down, it’s time to get creative. A great way to practice is with the spoon technique: pour the milk in a thin stream into your cup while using a spoon to agitate it and create an outline of your design. This will help you learn how to control the flow of the milk and see it take shape before you put it on top of your espresso.
You can try drawing a heart, a leaf, or even swirls. Don’t be afraid to experiment and make mistakes! Remember that usually less is more: don’t use too much milk at once, as this will prevent you from making detailed strokes. If you’re having trouble getting that perfect pattern, remember that practice makes perfect—you may need to go through several cups of latte art before you nail your favorite design!


