A Brief Guide to Roasting Coffee at Home
Table of Contents
- Why Roast Coffee at Home?
- What You Need
- Popular Roasting Methods
- Drying Phase
- Maillard / Browning Phase
- First Crack
- Development Time
- Second Crack
- Simple Beginner Roast Process
- Light Roast
- Medium Roast
- Dark Roast
- 1. Roasting Too Dark
- 2. Poor Ventilation
- 3. Uneven Heat
- 4. No Notes
- 5. Brewing Immediately
- Degassing After Roast
- Where to Buy Green Coffee
- Is It Worth It?
- Final Thoughts


A Brief Guide to Roasting Coffee at Home
- Adam Smith
- 12-09-2021
- 06-11-2026
- 2331 views
- Featured Articles, Coffee Beans, How To's, Information
Roasting coffee at home is one of the fastest ways to understand coffee deeply. Instead of buying pre-roasted beans, you start with green coffee and transform it yourself through heat, timing, airflow, and sensory control. Done well, home roasting gives you fresher coffee, custom roast profiles, and a stronger connection to every cup.
Done badly, it gives you smoke, uneven beans, and regret.
This guide gives you the practical essentials.
Why Roast Coffee at Home?
Home roasting appeals to people who want:
- Maximum freshness
- Lower cost per pound (green beans can be cheaper)
- Control over roast level
- Access to unique origins
- A deeper coffee hobby
Freshly roasted coffee can outperform stale retail coffee immediately.
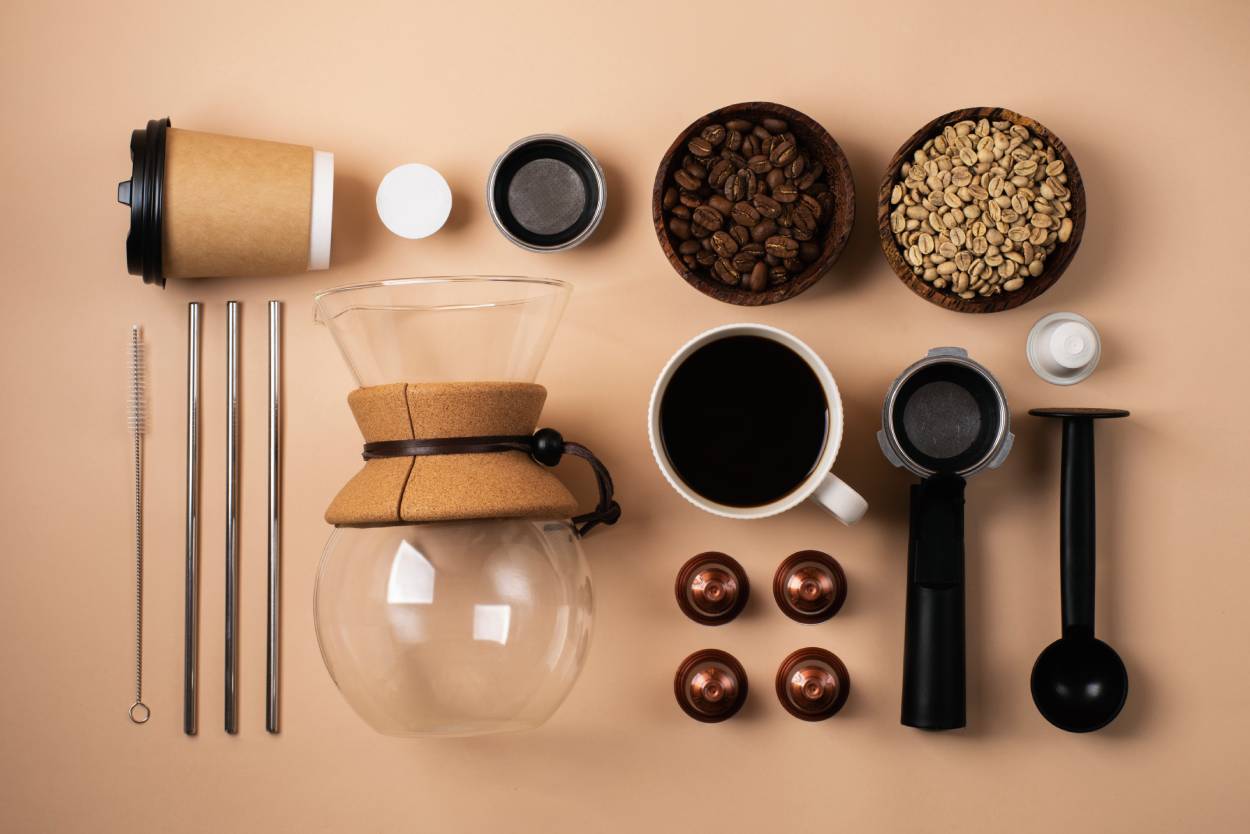
What You Need
Minimum Setup
- Green coffee beans
- Heat source
- Ventilation
- Metal colander or cooling tray
- Storage container
- Patience
Popular Roasting Methods
1. Pan Roasting
Use a heavy skillet on stovetop.
Pros:
- Cheap
- Immediate start
Cons:
- Uneven roasting
- Hard to control
- Smoky
2. Oven Roasting
Spread beans on tray.
Pros:
- Simple
Cons:
- Weak control
- Uneven development
3. Popcorn Popper
Hot-air poppers can roast coffee surprisingly well.
Pros:
- Affordable
- Better agitation
Cons:
- Limited batch size
4. Dedicated Home Roaster
Best option if serious.
Pros:
- Better consistency
- Adjustable profiles
- Repeatable results
Cons:
- Higher cost
Understand Roast Stages
Coffee roasting is about managing progression, not just making beans brown.
Drying Phase
Beans lose moisture and shift from green to yellow.
Maillard / Browning Phase
Sugars and amino compounds react, building aroma and sweetness.
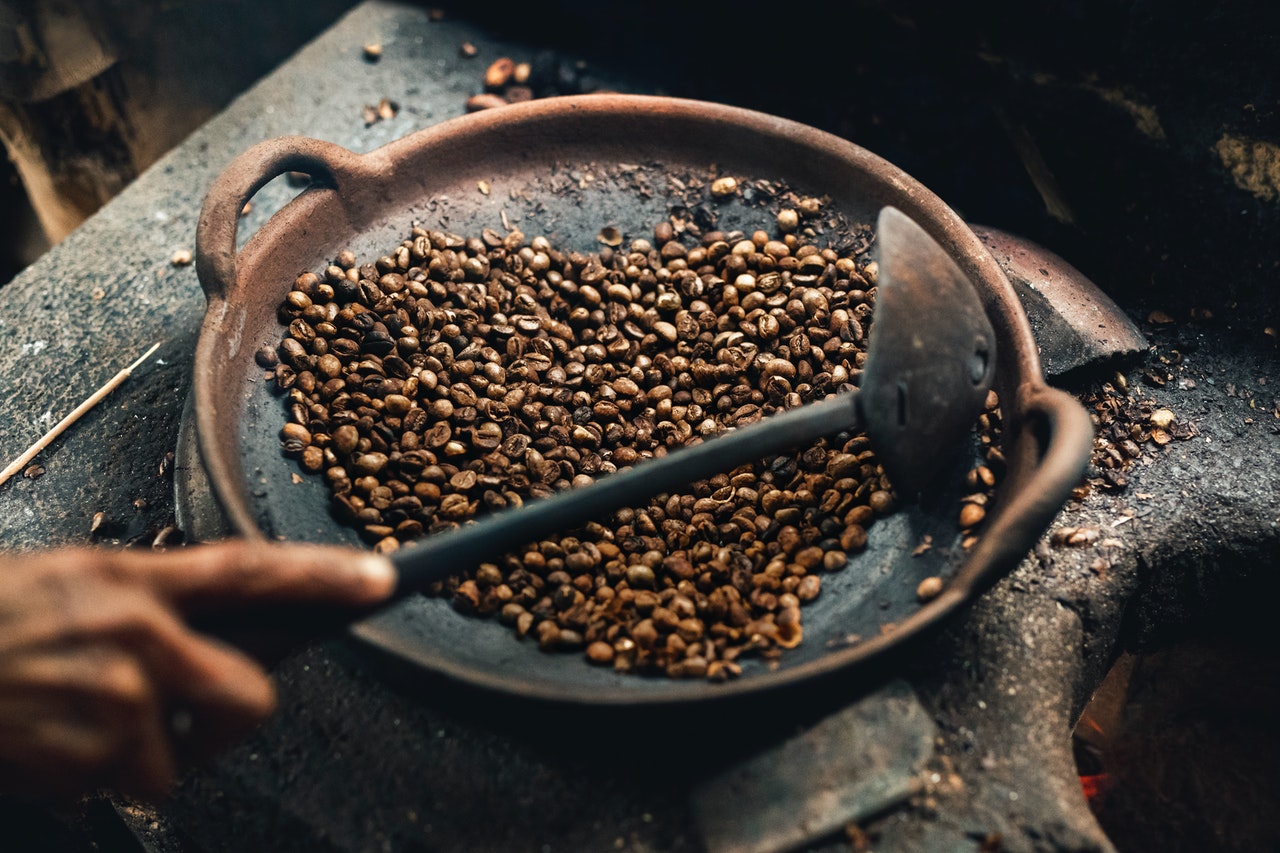
First Crack
Beans audibly crack as steam pressure releases.
This is a major milestone.
Development Time
After first crack, flavor deepens.
Second Crack
Oils emerge, darker roast flavors intensify.
Go too far and you get charcoal.
Simple Beginner Roast Process
Using a popcorn popper or roaster:
- Preheat machine if needed.
- Add measured green beans.
- Agitate beans continuously.
- Watch color changes.
- Listen for first crack.
- Stop roast shortly after first crack for medium roast.
- Dump beans immediately into colander.
- Cool rapidly by stirring and airflow.
Cooling fast is critical or roasting continues internally.
Choosing Roast Levels
Light Roast
- Brighter acidity
- More origin character
- Floral / fruit notes
Medium Roast
- Balance of sweetness, body, acidity
Dark Roast
- Chocolate, smoke, bitterness
- Less origin clarity
For beginners, medium is usually smartest.
Common Mistakes
1. Roasting Too Dark
Beginners often confuse darkness with quality.
2. Poor Ventilation
Roasting creates smoke and chaff.
3. Uneven Heat
Leads to scorched outside, underdeveloped inside.
4. No Notes
Track:
- Bean origin
- Batch size
- Time to first crack
- Total roast time
- Flavor result
That’s how you improve.
5. Brewing Immediately
Fresh roast needs rest.
Degassing After Roast
Let beans rest before brewing:
Espresso often benefits from even longer rest depending on roast.
Where to Buy Green Coffee
Look for reputable specialty suppliers offering:
- Origin transparency
- Processing info
- Harvest freshness
- Defect sorting
Green bean quality matters massively.
Is It Worth It?
Yes, if you enjoy experimentation and process.
No, if you only want convenience.
Home roasting is closer to baking or craft brewing than grocery shopping.
Final Thoughts
Roasting coffee at home gives you control few coffee drinkers ever experience. You learn how heat shapes flavor, why freshness matters, and how different origins respond to roasting.
Start simple, keep notes, roast lighter than your instincts tell you, and focus on consistency over bravado. Great roasting is not burning beans impressively, it is developing them intelligently.


Deal of Day
Shop
Visit Our Store!
Discover products inspired by our blog — click here to explore the store.
Visit NowEvents

Events-Coffee Culture Live
Don’t miss out on exclusive coffee events and community gatherings.
Coming Soon
Jobs


Subscribe now
Subscribe to our newsletter today for a chance to win a FREE one year coffee subscription after your first order!