How To Roast Coffee Beans In A Frying Pan At Home
Table of Contents
- Why Roast Coffee at Home
- What You Need
- Why Ventilation Matters
- Choose the Right Frying Pan
- Step 1 Preheat the Pan
- Step 2 Add the Green Coffee Beans
- Step 3 Stir Constantly
- Step 4 Watch the Color Changes
- Understanding Roast Levels
- Step 5 Remove the Beans Quickly
- Step 6 Cool the Beans Fast
- Step 7 Let the Coffee Rest
- Common Problems During Pan Roasting
- Tips for Better Home Roasting
- Is Pan Roasting Better Than Store Bought Coffee
- Best Brewing Methods for Home Roasted Coffee
- Final Thoughts


How To Roast Coffee Beans In A Frying Pan At Home
- Shelli Galici
- 07-28-2018
- 06-17-2026
- 2595 views
- Featured Articles, Coffee Tips, How To's, Information
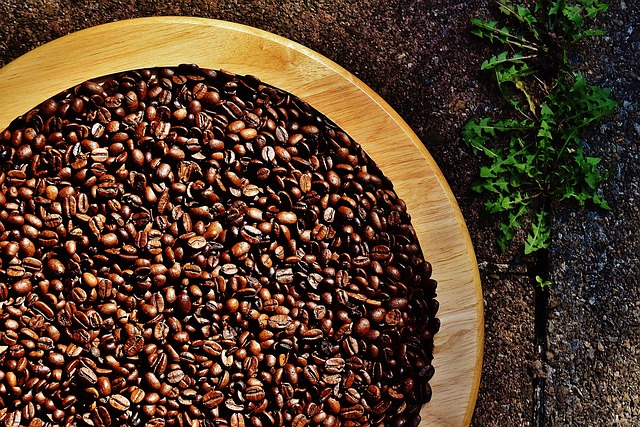
Roasting coffee beans at home is one of the most satisfying experiences for coffee lovers. The aroma, color transformation, cracking sounds, and fresh flavor create a completely different appreciation for coffee compared to simply buying pre roasted beans.
While professional coffee roasting machines offer precision and consistency, you can still roast coffee beans successfully using something as simple as a frying pan. Pan roasting is one of the oldest and most accessible methods for home coffee roasting.
It requires attention, patience, and constant movement, but it allows you to experience the roasting process firsthand while producing surprisingly flavorful coffee.
Why Roast Coffee at Home
Freshly roasted coffee offers several advantages.
Stronger Aroma
Fresh roasting releases intense coffee fragrance that quickly fades in older coffee.
Better Flavor Freshness
Home roasted coffee often tastes brighter and more vibrant shortly after roasting.
Full Roast Control
You decide whether the coffee becomes light, medium, or dark roast.
Deeper Understanding of Coffee
Roasting teaches how heat changes coffee chemistry, sweetness, acidity, and bitterness.
What You Need
Roasting coffee in a frying pan requires very simple equipment.
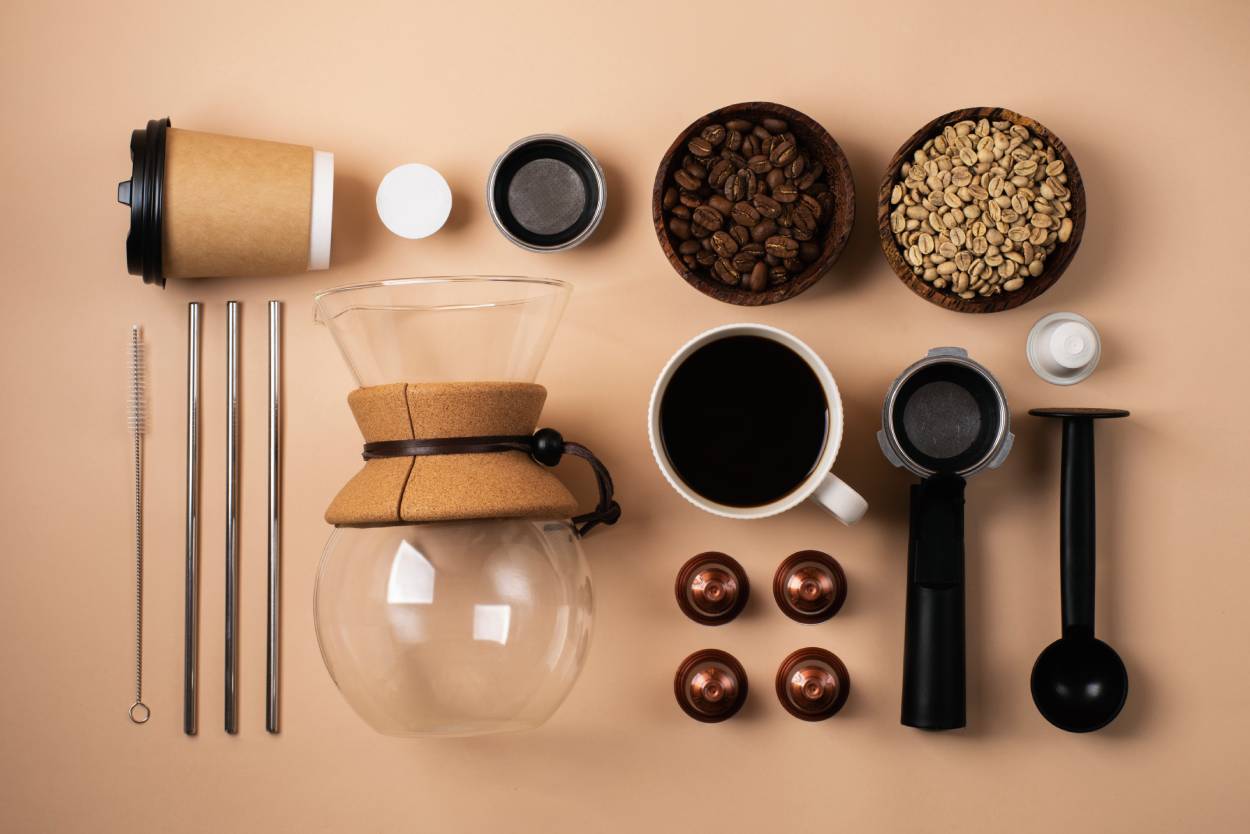
Essential Tools
Green unroasted coffee beans
Heavy frying pan or skillet
Wooden spoon or spatula
Stove
Metal colander or baking tray for cooling
Ventilation or open windows
Why Ventilation Matters
Roasting coffee creates smoke, especially during darker roasts.
Good airflow is important because roasting produces:
Smoke
Chaff from beans
Strong roasting aroma
Opening windows or using kitchen ventilation helps significantly.
Choose the Right Frying Pan
A heavy pan distributes heat more evenly and reduces burning.
Best Options
Cast iron skillet
Heavy stainless steel pan
Avoid thin lightweight pans because they create uneven roasting more easily.
Step 1 Preheat the Pan
Heat the frying pan over medium heat.
The pan should become hot but not extremely overheated before adding beans.
Too much heat at the beginning may scorch the exterior while leaving the inside underdeveloped.
Step 2 Add the Green Coffee Beans
Pour a single layer of green coffee beans into the pan.
Avoid overcrowding because uneven roasting becomes harder to control.
Step 3 Stir Constantly
This is the most important step.
Coffee beans must move continuously to prevent burning.
Use a wooden spoon or shake the pan frequently.
Consistent movement helps create more even roasting.
Step 4 Watch the Color Changes
Coffee beans change dramatically during roasting.
Early Stage
Beans turn from green to yellow.
A grassy smell begins changing into a bread like aroma.
Mid Stage
Beans become light brown.
The coffee aroma becomes stronger.
First Crack
You will hear popping sounds similar to popcorn.
This stage usually signals light roast territory.
Medium Roast
Beans darken further while oils remain mostly inside the bean.
Second Crack
More intense cracking begins.
This stage moves toward dark roast flavor.
Understanding Roast Levels
Light Roast
Brighter acidity
Fruitier notes
Higher origin character
Medium Roast
Balanced sweetness
Smooth body
Balanced acidity and bitterness
Dark Roast
Smokier flavor
More bitterness
Lower acidity perception
Oily bean surface
Step 5 Remove the Beans Quickly
Once the desired roast level is reached, immediately remove the beans from heat.
Coffee continues roasting from internal heat even after leaving the pan.
Step 6 Cool the Beans Fast
Cooling quickly is extremely important to stop the roasting process.
Easy Cooling Methods
Transfer beans between metal colanders
Spread beans on a baking tray
Use a fan for airflow
During cooling, thin papery chaff may separate from the beans.
Step 7 Let the Coffee Rest
Freshly roasted coffee releases carbon dioxide for several hours after roasting.
Most coffee enthusiasts recommend resting beans for:
12\text{ to }48\text{ hours}
Before brewing for better flavor balance.
Common Problems During Pan Roasting
Uneven Roasting
Usually caused by inconsistent stirring or uneven heat.
Burnt Exterior
Heat too high.
Flat Flavor
Beans may be underdeveloped or removed too early.
Excessive Smoke
Dark roasts naturally produce more smoke.
Tips for Better Home Roasting
Roast small batches first.
Pay attention to aroma changes.
Use medium heat instead of rushing.
Practice with different roast levels.
Keep notes about timing and flavor results.
Is Pan Roasting Better Than Store Bought Coffee
Not always.
Professional roasting equipment provides far more precision and consistency.
However, home roasting offers:
Freshness
Customization
Learning experience
Personal satisfaction
Many coffee lovers enjoy the craft itself as much as the final cup.
Best Brewing Methods for Home Roasted Coffee
Freshly pan roasted beans work especially well with:
French press
Pour over
AeroPress
Moka pot
These methods highlight freshness and roast character effectively.
Final Thoughts
Roasting coffee beans in a frying pan is one of the simplest ways to experience coffee craftsmanship at home. While it requires attention and practice, the process teaches how roasting transforms raw green beans into aromatic flavorful coffee.
From the first crack to the final cooling stage, every step influences sweetness, acidity, bitterness, and aroma. Even without professional equipment, home pan roasting allows coffee lovers to create fresh customized coffee while developing a deeper appreciation for the art behind every cup.


Deal of Day
Shop
Visit Our Store!
Discover products inspired by our blog — click here to explore the store.
Visit NowEvents

Events-Coffee Culture Live
Don’t miss out on exclusive coffee events and community gatherings.
Coming Soon
Jobs

Subscribe now
Subscribe to our newsletter today for a chance to win a FREE one year coffee subscription after your first order!